Hardware Revision: G
Installation Support (phone, text or email): 1-888-964-2836 | prosupport@haveniaq.com
| Info |
|---|
Click here for a full datasheet of the HAVEN Central Air Monitor Product |
| Table of Contents | ||
|---|---|---|
|
Device & Installation Overview

The TZOA HAVEN Central Air Monitor is an in-duct air quality system that tracks particulate matter and volatile organic chemicals. By being positioned in the return duct, in front of the furnace and air filter, HAVEN is able to detect air pollution and other environmental factors that travel through the entire home. The homeowner gets a 24/7 dashboard view in HAVEN IAQ app (for iOS and Android), as well as notifications of indoor and outdoor air quality events.
| Info |
|---|
The Central Air Monitor Installation Instructions are also included in the HAVEN Pro Training program via the HAVEN Pro Portal. We recommend that all HAVEN Professionals complete the HAVEN Pro Training before installing or servicing any HAVEN device. |
Requirements for Installation
Prerequisites
Ducted central air system
Suitable for any duct (round and rectangular) minimum 8" wide
Within range of WiFi
802.11 b/g/n
WPA or Open
Parts included
HAVEN Central Air Monitor Kit
Central Air Monitor
Mounting plate
Gaskets
Screws
2mm slotted screw driver
Wago splicing connectors
~12ft of 2 wire cable (18-24 gauge)
Optional - 24VAC wall plug
Tools needed
Drill
Hole saw (1 ½” for rectangular ducts, 2” for round ducts)
1/4” hex driver
Wire Strippers
Android or iOS phone
Optional - non-contact voltage testing tool
Duct Placement
1. Turn off the furnace power.
| Note |
|---|
Do not proceed unless this is complete. |

2. Open the furnace door to reveal the furnace control board.

3. Determine the optimal Central Air Monitor location.
What to look for
The Central Air Monitor can be installed on both round and rectangular RETURN ducts that are minimum 8” in diameter. Optimal location is 24” ahead of the furnace filter in a straight section of the return duct to avoid air turbulence — avoid installing within 24” of a 90 degree elbow.

Airflow in the duct
The Central Air Monitor needs to be installed so that the probe is perpendicular to the airflow in order for it to accurately measure airborne particles and chemicals. The HAVEN IAQ app allows you to optimize the exact angle at which it’s installed. This helps increase the stability of the airflow signal and maximize the airflow speed through the probe’s air channels.

Within WiFi range
Use a WiFi-enabled device like your phone to make sure the proposed mounting location is within range of the home’s WiFi network. Open WiFi Settings on your device to make sure it shows up in the list of detectable networks.

4. Mark the location & drill the hole in the centre of the duct.
For rectangular ducts: use a 1 ½” holesaw
For round ducts: use a 2” holesaw

Wiring & Power
5. Run a length of wire cable (18-24 gauge) from inside of the furnace to the outside where the Central Air Monitor will be installed. Leave some slack.
Use a knockout that allows the cable to stay put even when the furnace door is closed. Leave another 4ft of length before snipping the cable to ensure it reaches the desired Central Air Monitor location in duct.


6. Using wire strippers, strip the jacket off both ends of the cable, leaving ½” of exposed conductor on each wire.

7. Connect the Central Air Monitor to power.
| Info |
|---|
There are multiple methods to connect the Central Air Monitor to power. It is advised to use a non-contact voltage testing tool to confirm that the power is not live before modifying furnace wiring. |

Method 1: Furnace Transformer (recommended)
Find the 24VAC lines (these are usually yellow). Using wire strippers, strip the jacket off the wires, leaving ½” of exposed conductor on both ends of the cable. Using inline, twist on, push on, or splicing connectors, connect the two ends of the new cable to the dedicated transformer.

Method 2: Furnace Control Board
Inside of the furnace, loosen the terminal screws of the “R” and the “C” terminals. Insert one wire into the “C” terminal and one into the “R” terminal. Tighten the screws securely.
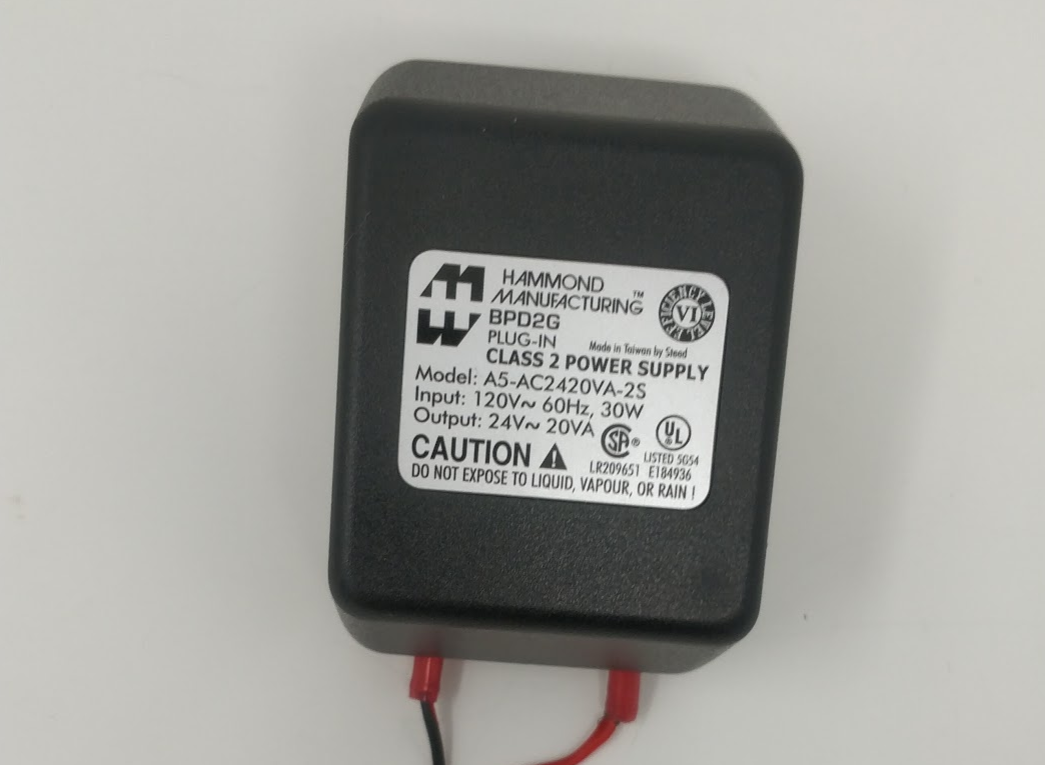
Method 3: External Transformer
You may want to power the Central Air Monitor a wall outlet. If so, we recommend using a 24VAC wall plug as shown in the photo. As with the previous methods, it does not matter which terminal each wire is connected to. To avoid shorting the other side of the wires, avoid plugging this into the wall until STEP 9 is complete.
8. Close the furnace door & secure any screws.

9. Connect the Central Air Monitor.
Connect the other end of the cable to the Central Air Monitor’s terminals.
Polarity doesn’t make a difference, secure wires either way.

10. Turn the furnace back on using the master switch or circuit breaker.
The Central Air Monitor’s LED should turn solid blue.

Wireless Configuration
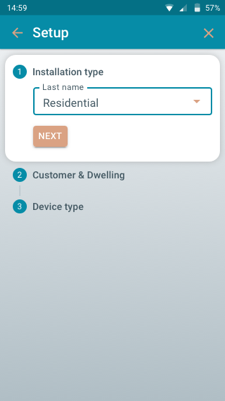
11. Configure Central Air Monitor to homeowner’s account.
After LED turns blue, slide the probe through the mounting plate until it clicks into place.

Open up HAVEN IAQ App and follow the sequence on associating the device to homeowner. Make sure you’ve got Bluetooth enabled on your phone.
Completing the Installation
12. Validate the angle of the probe in the duct.
Place the probe into the drilled hole, starting with the TZOA logo parallel to the airflow in the duct.
Follow the instructions to find the highest, most stable airflow signal.
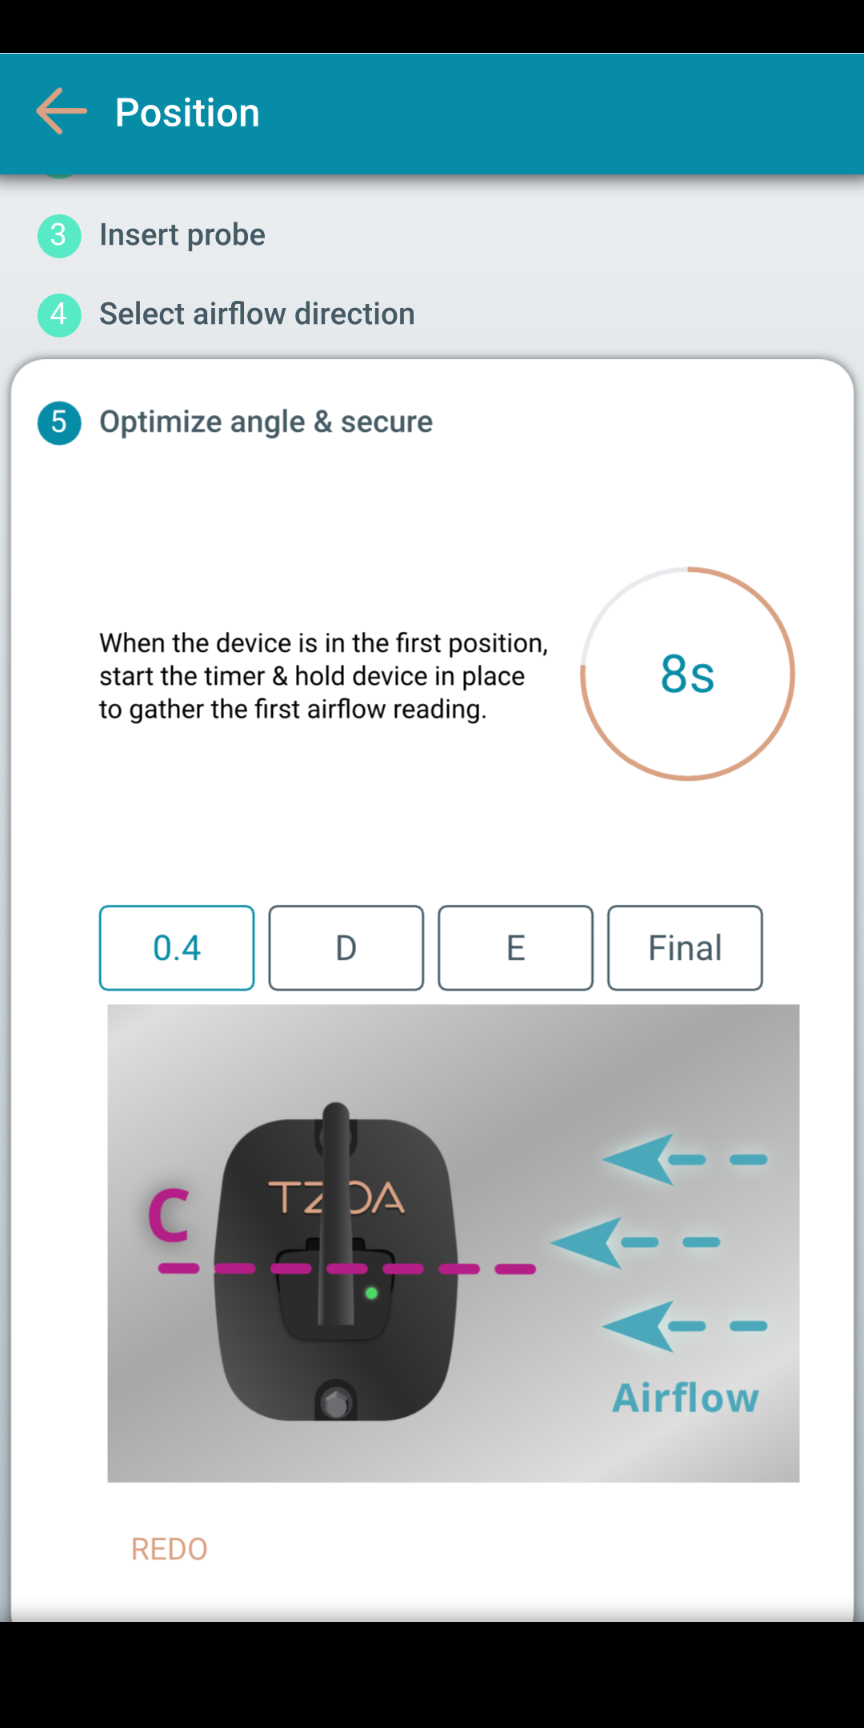
| Note |
|---|
This step, though optional, is highly recommended to ensure a stable airflow signal in order to reduce the need for future troubleshooting visits to the home. |
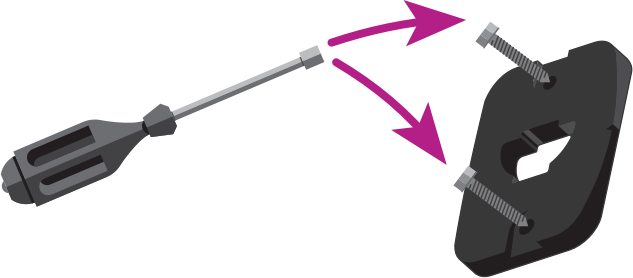
13. Secure the mounting plate with the self-drilling screws provided.
Once you’ve validated the angle, use a drill or 1/4” hex screwdriver and self-drilling screws to secure the mounting plate in place.
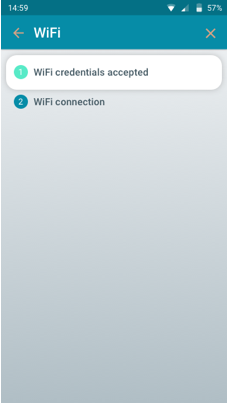
14. Connect to WiFi & finish the installation.
Connect to the home’s WiFi network - customer must supply the WiFi network name and password. Please note the name and password are both case-sensitive.
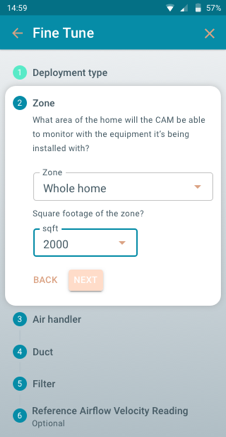
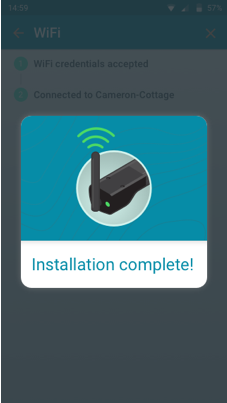
Once you’ve entered in some basic information about the zone, air-handler, and air filter, you can call it a day! Great job.